

Transform Your Raw Footage into Masterpieces
Table of Contents
ToggleIntroduction
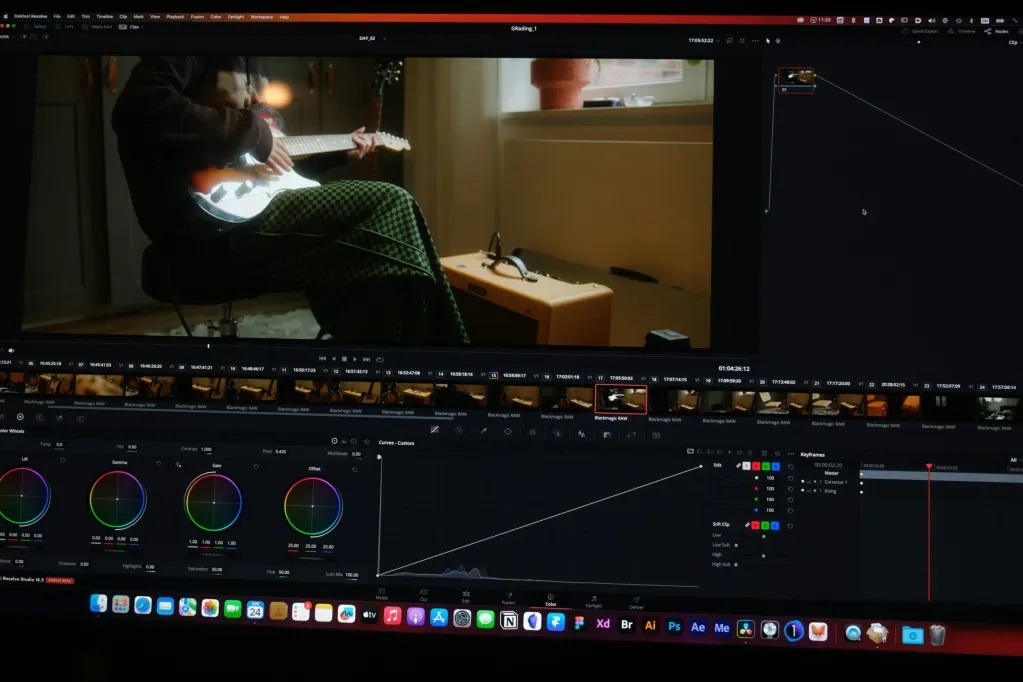
At Digital World Hub, we don’t just edit videos — we craft visual stories that connect, inspire, and convert. Whether it’s a wedding highlight, a YouTube vlog, or a business promo, our creative editing will elevate your video to a cinematic masterpiece.
Looking for **professional video editing services**? Whether you’re a content creator, YouTuber, or business owner, high-quality video editing can set you apart. That’s where professional video editing comes in — the magic that turns your footage into an unforgettable experience.
What is Professional Video Editing?
Professional video editing goes beyond trimming clips and adding music. It’s the art of shaping raw material into a polished, visually compelling story. A skilled video editor can:
Cut unnecessary parts and build a seamless flow
Add transitions, titles, and effects
Enhance color and lighting
Synchronize audio with visuals
Add background music, sound effects, voiceovers
Include branding elements like logo, intro, and outro
Why Choose Our Professional Video Editing Services
Viewers decide within seconds whether to continue watching. We create powerful intros and engaging cuts that instantly capture attention.
1. Build Your Brand Image
Polished video content builds trust. Whether you’re a content creator or business, professional editing enhances your credibility and brand reputation.
2. Ensure Perfect Audio-Visual Sync
We align voice, music, and effects with precision to create a natural and immersive viewing experience.
3. Save Time & Focus on What You Do Best
Instead of spending hours editing, leave it to us. You shoot — we edit and deliver magic.
Our Video Editing Services at Digital World Hub
Wedding & Pre-Wedding Video Editing
Cinematic sequences & slow motion
Romantic music sync & emotional transitions
Highlight reels with storytelling feel
YouTube Video Editing
Fast cuts, B-rolls, zooms, and overlays
Intro/Outro animation
Subtitles and engaging thumbnails
Instagram Reels & Short Videos
Trendy transitions
Caption overlays and music sync
Loop-ready vertical edits
Business Promo & Corporate Videos
Product showcases & brand storytelling
Logo animations and call-to-actions
Voiceovers, testimonials, and transitions
Motion Graphics & Logo Animation
2D/3D Logo reveal
Text animation & lower-thirds
Branded overlays & infographic elements
How to Edit Video Footage Like a Pro: Step-by-Step Guide for Beginners
Introduction: Why Video Editing is a Game Changer
If you’re wondering how to edit video footage, this guide will help you turn your raw clips into professional-looking videos with ease. Whether you’re creating content for YouTube, Instagram, a business promo, or personal memories, learning the basics of editing is essential.
In today’s digital era, video content rules the internet. Whether you’re a YouTuber, a social media influencer, or a business owner, knowing how to edit video footage can take your content to the next level. Video editing transforms raw clips into compelling stories that engage, entertain, and inform viewers.
If you’re new to editing, don’t worry! This guide will walk you through the basic steps, recommended software, and essential tips to help you edit like a pro—even if you’re just starting out.
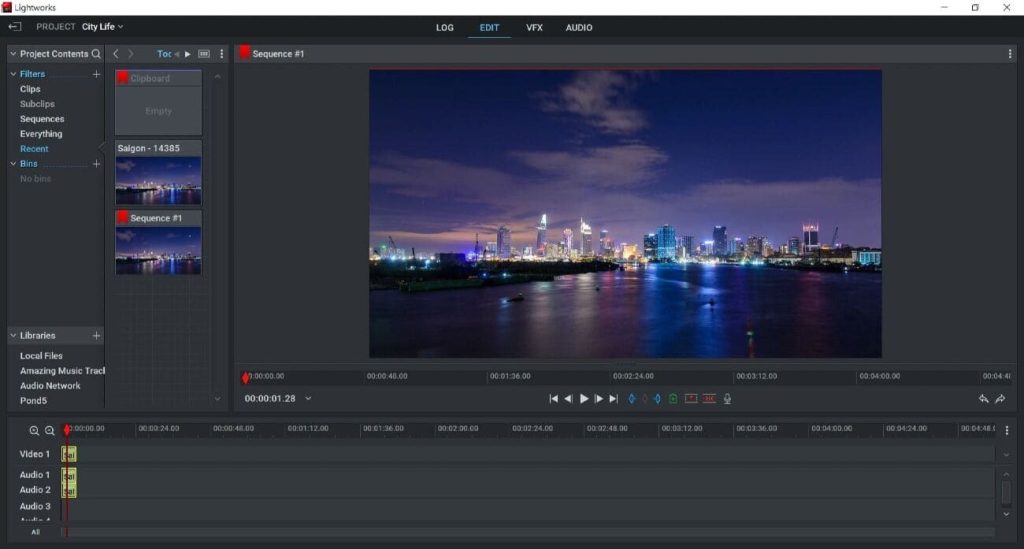
Step 1: Choose the Right Video Editing Software
The first step is selecting the right tool. There are plenty of video editing software options, both free and paid. Here are a few popular choices:
-
Free Tools:
-
DaVinci Resolve (Advanced)
-
Shotcut (Beginner-friendly)
-
iMovie (Mac users)
-
-
Paid Tools:
-
Adobe Premiere Pro (Industry standard)
-
Final Cut Pro (Mac)
-
Filmora (Easy & affordable)
-
Choose software that suits your skill level and system requirements. For beginners, Filmora or iMovie can be great starting points.
Step 2: Organize Your Video Footage
Before diving into editing, keep your files organized. Create folders for:
-
Raw Footage
-
Music & Sound Effects
-
Graphics or Overlays
-
Final Export
Rename your clips for easier identification. This saves time and improves workflow.
Pro Tip: Use a storyboard or script to plan your video structure—this helps in keeping your edits focused and clean.
Step 3: Import & Arrange Your Clips
Now, import your footage into the software. Drag and drop clips to the timeline in the order you want them to appear.
Focus on:
-
Cutting unnecessary parts
-
Trimming pauses and filler content
-
Rearranging clips to match the story flow
Ensure your video starts strong and keeps the viewer engaged in the first 10 seconds.
Step 4: Add Transitions, Effects & Graphics
Transitions help connect scenes smoothly. Avoid overusing them—keep it simple and clean.
Common types:
-
Fade In / Fade Out
-
Cross Dissolve
-
Slide / Wipe
Add text overlays for titles, subtitles, or highlights. Use motion graphics or animated elements to make the video more dynamic.
Also, apply color correction or filters to enhance the video’s visual appeal. Basic color grading can fix lighting issues and give your video a professional look.
Don’t forget the sound! Adjust background music volume, remove background noise, and sync dialogues perfectly.
Step 5: Add Background Music & Voice-over
Good audio = good video. Add royalty-free music that matches your content’s tone—calm, energetic, emotional, etc.
Also consider:
-
Recording a voice-over for tutorials
-
Syncing sound effects with action scenes
-
Keeping dialogue volume clear and consistent
Free music libraries:
-
YouTube Audio Library
-
Bensound
-
Epidemic Sound (subscription)
Use fade-in and fade-out effects for smooth audio transitions.
Step 6: Review, Export & Share
Before final export:
-
Watch your video multiple times
-
Fix cuts, awkward transitions, and sync issues
-
Check for spelling errors in text overlays
Then export using recommended settings:
-
Resolution: 1080p (Full HD) or 4K
-
Format: MP4 (universal)
-
Frame rate: 30fps or 60fps
Share your video on YouTube, Instagram, or your website. Use proper titles, tags, and descriptions for better reach.
Why Choose Digital World Hub?
 Over 10 Years of Professional Experience Experts in Adobe Premiere Pro, After Effects, DaVinci Resolve High-Quality + Affordable Packages Quick Turnaround & Unlimited Revisions Fully Customized to Match Your Brand or Style
Step-by-Step Process: How to Edit Video Footage Easily

Introduction: Editing Footage is Easier Than You Think!
Video editing can feel intimidating, especially when you’re just getting started. But with the right approach and tools, editing video footage becomes not only easy but enjoyable too. Whether you’re working on a YouTube video, a short reel, or a school project, this step-by-step guide will help you learn how to edit video footage easily using any beginner-friendly editing software.
Step 1: Select the Right Video Editing Software
(Caption: Your tools define your editing journey)
Before you begin editing, choose a video editor that matches your skill level. Here are some popular options:
Beginner-Friendly:
Filmora
iMovie (Mac users)
Clipchamp (Windows 11)
Intermediate to Pro:
Adobe Premiere Pro
DaVinci Resolve
Final Cut Pro
Each tool offers basic features like cut, trim, transitions, and effects. Choose the one that works best for your device and comfort.
Step 2: Organize and Import Your Footage
(Caption: A clean workspace = smooth editing)
Once you’ve recorded your video, the next step is organization:
Create folders for raw clips, music, images, and audio.
Rename files clearly: e.g.,
intro.mp4,voiceover.wav.Import everything into your video editor’s media bin.
Tip: Good file organization avoids confusion and saves time during the edit.
Step 3: Cut and Trim Unwanted Footage
(Caption: Less clutter, more impact)
Start placing your clips on the timeline. Then:
Remove long pauses, mistakes, or shaky footage.
Use the cut tool to slice clips at specific moments.
Trim out boring parts to keep your video engaging.
Goal: Keep your final video tight and focused. Viewers should stay hooked throughout.
Step 4: Add Transitions and Scene Changes
(Caption: Smooth scene changes improve flow)
Transitions make your video look polished. But use them sparingly.
Fade in/out – for beginning or ending scenes
Cross Dissolve – soft transitions between two scenes
Wipe or Slide – when switching topics or locations
Avoid using fancy or over-the-top transitions—they can distract viewers.
Step 5: Add Text, Titles & Captions
(Caption: Let your message be seen clearly)
Text elements help guide your audience.
Main Title – at the beginning (with animations if needed)
Lower Thirds – introduce people, places, or sections
Subtitles or Captions – improve accessibility and engagement
Customize fonts, colors, and position to match your brand or theme.
Step 6: Add Music & Audio Effects
(Caption: Good sound = good experience)
Sound is just as important as visuals. Follow these tips:
Choose royalty-free music from sites like YouTube Audio Library or Bensound.
Add background music at low volume so it doesn’t overpower the dialogue.
Use sound effects (e.g., clicks, swooshes, beeps) to make your edits pop.
If needed, record a voice-over using a clean microphone setup.
Adjust volume levels using keyframes for smooth transitions.
Step 7: Apply Basic Color Correction
(Caption: Fix lighting issues and match tones)
Even if you shot great footage, color correction can enhance it further.
Adjust brightness, contrast, and saturation.
Use color balance to fix warm or cool tones.
Apply LUTs (Look-Up Tables) for cinematic effects (optional).
This makes your video more visually consistent and professional.
Step 8: Watch, Review & Make Final Tweaks
(Caption: Polish before publishing)
Before exporting, review your video carefully:
Look for editing gaps or audio sync issues
Check for typos in text or captions
Ensure smooth transitions and correct volume levels
Watch the full video from start to finish without skipping
This is your final chance to perfect the video before sharing it.
Step 9: Export in the Right Format
(Caption: Export smart for quality and speed)
Most editors give you export presets. Choose settings like:
Format: MP4 (most compatible)
Resolution: 1080p Full HD (or 4K if available)
Frame Rate: 30 fps or 60 fps (for smoother motion)
Bitrate: Balanced for quality without large file size
Save the project file separately in case you want to re-edit later.
Step 10: Upload and Share Your Video
(Caption: Time to showcase your creativity)
Now that your video is ready, it’s time to publish it on your desired platforms:
YouTube
Instagram Reels or Stories
Facebook
WhatsApp
Your website or portfolio
While uploading:
Add a catchy title and description
Use relevant hashtags
Choose a custom thumbnail to attract viewers
How to edit video footage & Video Editing Helps Grow Your Business
A well-edited video boosts your online presence on platforms like YouTube, Instagram, and even Google search.
With great editing, you get:
More engagement
Higher retention rate
More shares and conversions
So think of video editing as an investment in your visibility and success.
Frequently Asked Questions (FAQs)
Q. Do you work with clients remotely?
Yes! We accept footage through Google Drive, WeTransfer, or Dropbox, and deliver professionally edited videos online.
Q. What’s the typical delivery time?
Most projects are delivered within 2 to 5 working days, depending on complexity.
Q. Can I request changes or revisions?
Absolutely! We offer unlimited revisions until you’re fully satisfied.
Conclusion
Great videos aren’t just filmed — they’re expertly edited. If you want your memories, message, or brand to stand out, let Digital World Hub turn your raw footage into stunning stories.
📞 Contact Us Today!
📍 Serving Clients All Over India
🌐 Visit: www.digitalworldhub.in
📱 WhatsApp/Call: +91-9889635153
📧 Email: contact@digitalworldhub.in